How to turn a hand sketch into a realistic render
A sketch is the fastest way to explore an idea, but clients often need to see it real. With AI you can turn a pencil drawing into a photorealistic image in about a minute, keeping the volumes and openings you drew.
5 min read
What you will get


Drag the slider to compare before and after.
What you need
- A hand sketch, pencil or pen drawing, or a digital sketch.
- A photo or scan of it. A phone photo works if it is sharp and straight.
- A free RendScene account (5 free renders, no credit card).
Step by step
- Step 1
Photograph or scan the sketch
Take the picture from straight above, in good light, without shadows across the paper. Crop away the table and the edges of the sheet.
- Step 2
Upload it as Sketch
In the studio, choose Sketch under Starting from and upload the image. RendScene usually detects a sketch by itself. If only part of the page matters, use Mark area to render just that part.
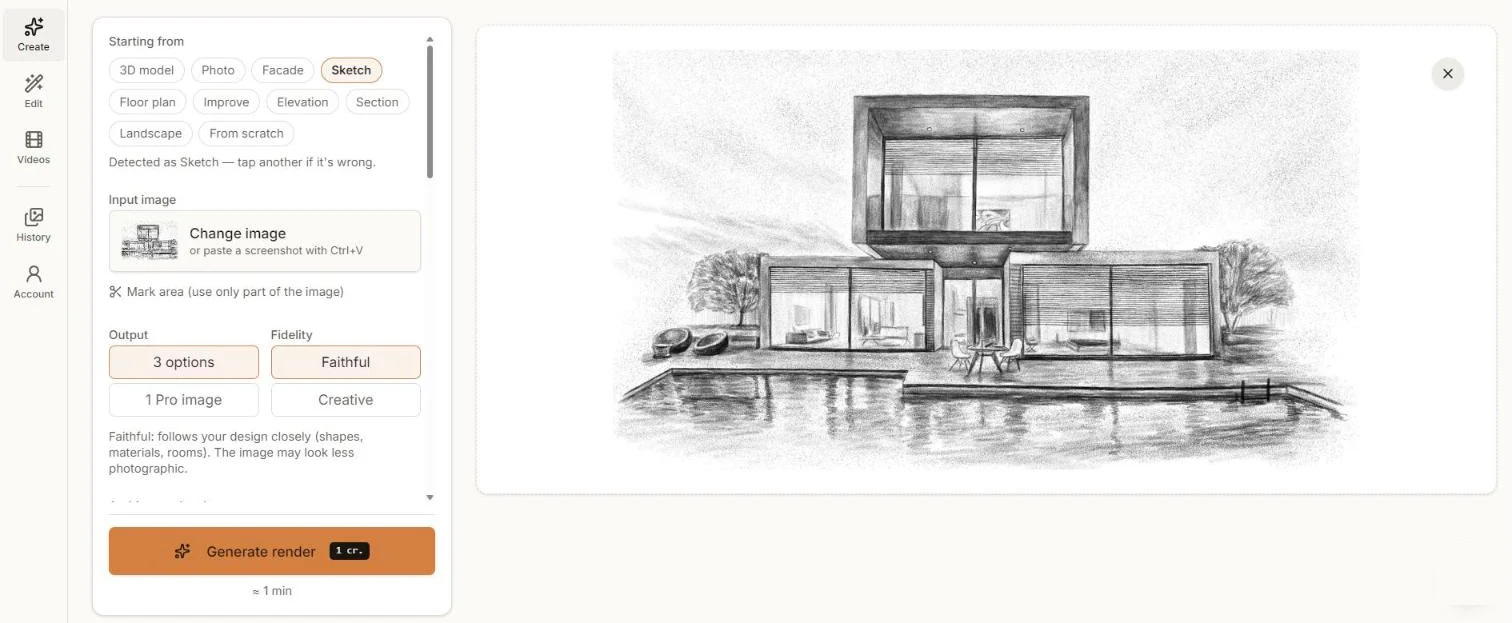
A pencil sketch uploaded as Sketch. - Step 3
Describe what is not in the drawing
A sketch does not say what is wood and what is concrete. Pick a style and write the key materials and the time of day, for example "timber cladding upstairs, concrete below, dusk". Faithful follows your lines closely; Creative fills in more freely.
- Step 4
Generate and compare
Click Generate render and compare the options side by side in about a minute.
- Step 5
Refine and download
Download in 2K or 4K. Use Edit to change a material or add people, plants or furniture.
Tips for better results
- Clear outlines read better than many overlapping strokes.
- Draw the openings: the AI keeps windows and doors where you put them.
- Write the materials in the instructions instead of hatching them.
- Try Creative for early concepts and Faithful when the design is settled.