Your elevation, straight on, with real materials.
Upload a 2D elevation — from CAD, Revit, SketchUp or a technical hand drawing. It comes back as the same elevation, straight on, with real materials, glass, shadows and sky.
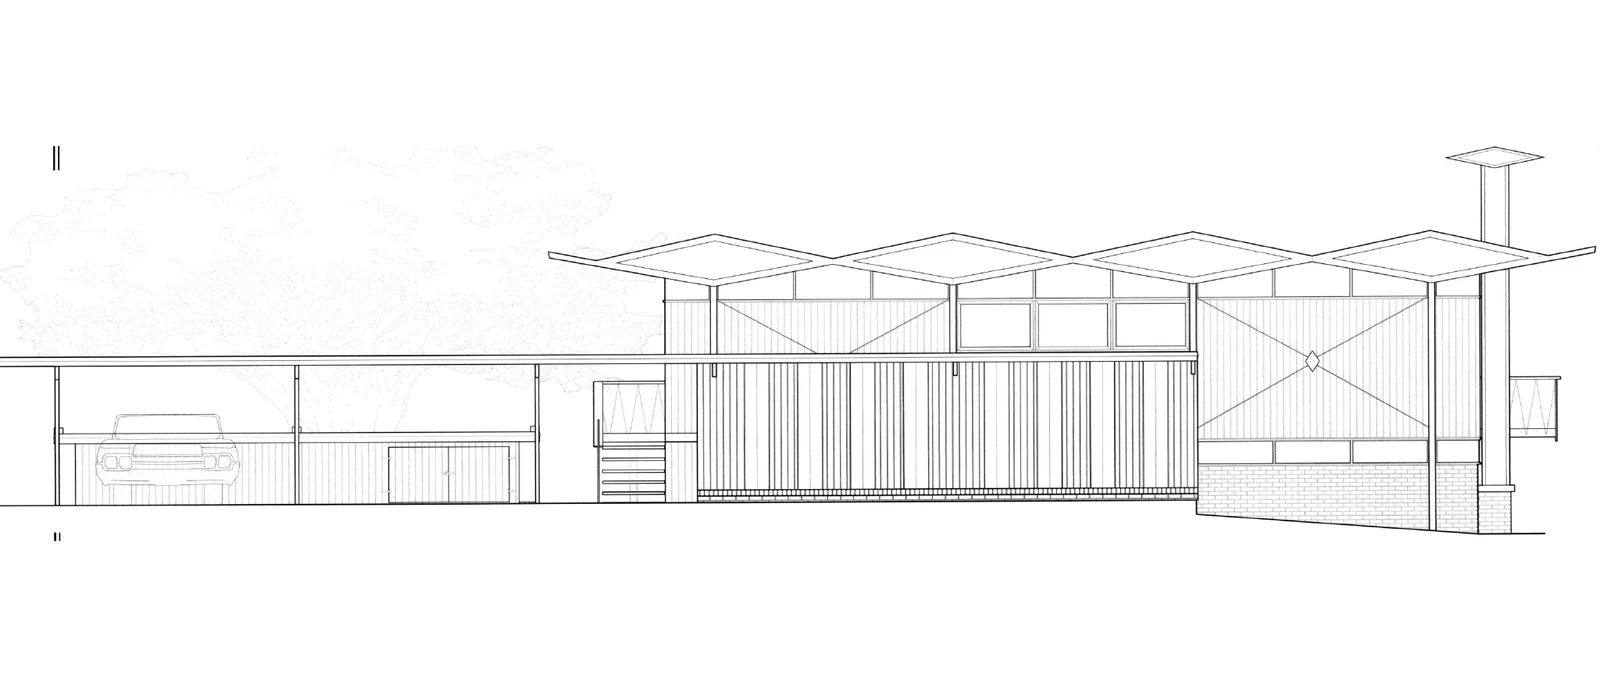
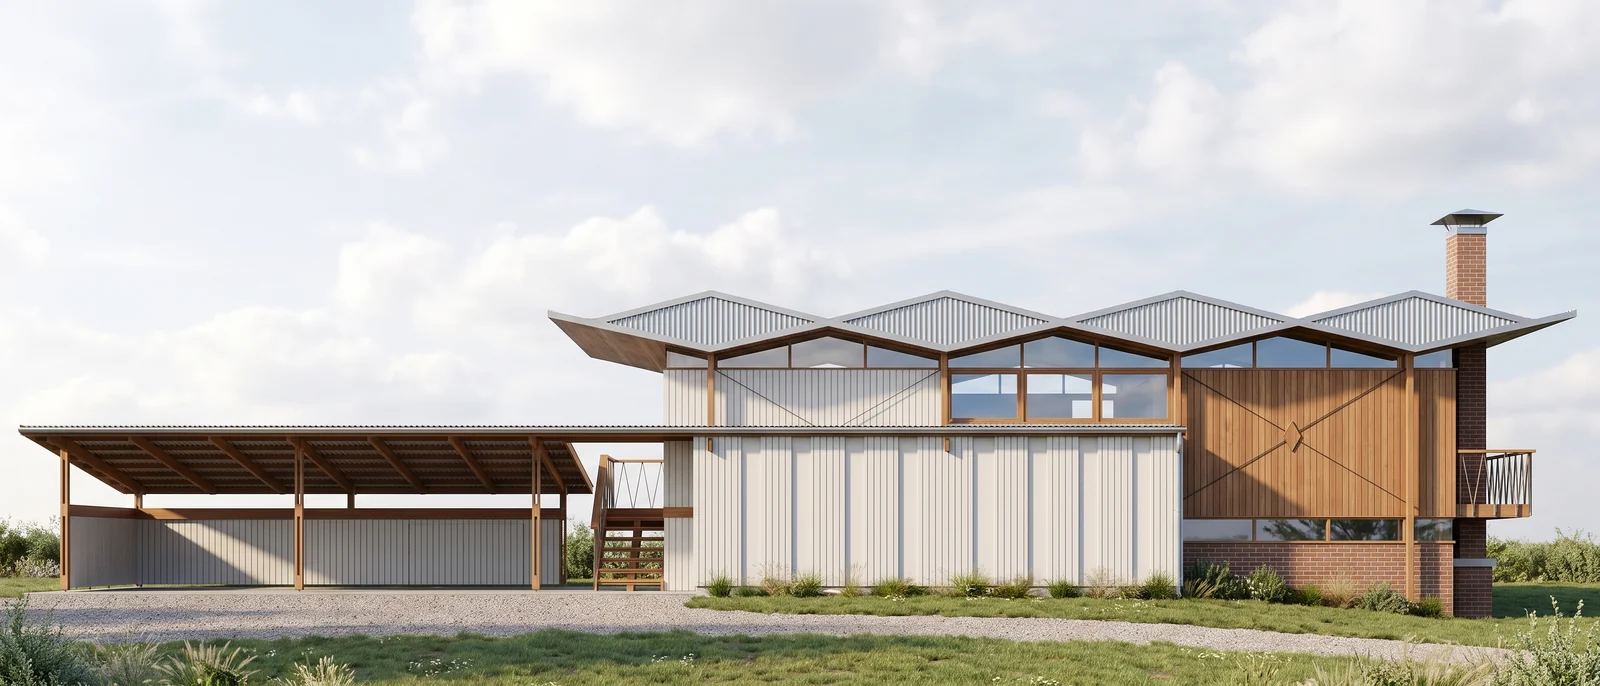
Before
After
Drag the handle to compare. Works with mouse and touch.
How it works
Elevation to render in three steps.
Three steps. No 3D software, no learning curve.
- 1
Upload the elevation
One facade elevation, seen straight on: an export from CAD, Revit or SketchUp, or a clean technical hand drawing.
- 2
Pick a style
Materials come from the style you choose; light from Customize scene.
- 3
Download the rendered elevation
Flat and frontal, exactly as drawn — no perspective. Ready for boards, approvals and presentations.
What you upload
What to send
- One facade elevation, seen straight on: an export from CAD, Revit or SketchUp (parallel projection), or a clean technical hand drawing.
- Send it clean: no dimension lines, labels, notes or title block — text in the drawing distorts in the render. Dense hatching can be misread as a material.
- One elevation per image, filling the frame, on a plain white background. A sheet with four elevations gives you a render of the sheet.
- Storey heights, width and the position and size of every window and door stay as drawn. Materials come from the style you choose; light from Customize scene.
Accepted files: PNG, JPG, WEBP or PDF.
- What stays
- Storey heights, width and the position and size of every window and door stay as drawn. No perspective is added.
- What the AI adds
- Materials, colours, glass, shadows, depth and sky, in the style you choose.
- Resolution
- Render natively in 2K or 4K, or upscale later from 2K to 4K
- After rendering
- Swap materials, remove and add objects without touching the rest of the image
- What this feature doesn't do
- A page with several drawings becomes a render of the whole page — crop one view per image.
- Exact dimensions: the image is a presentation, not a construction document.
- Text, signs and logos in the image may come out distorted.
Examples
The same elevation, before and after.
Every pair below is a real RendScene render made from the image on the left.
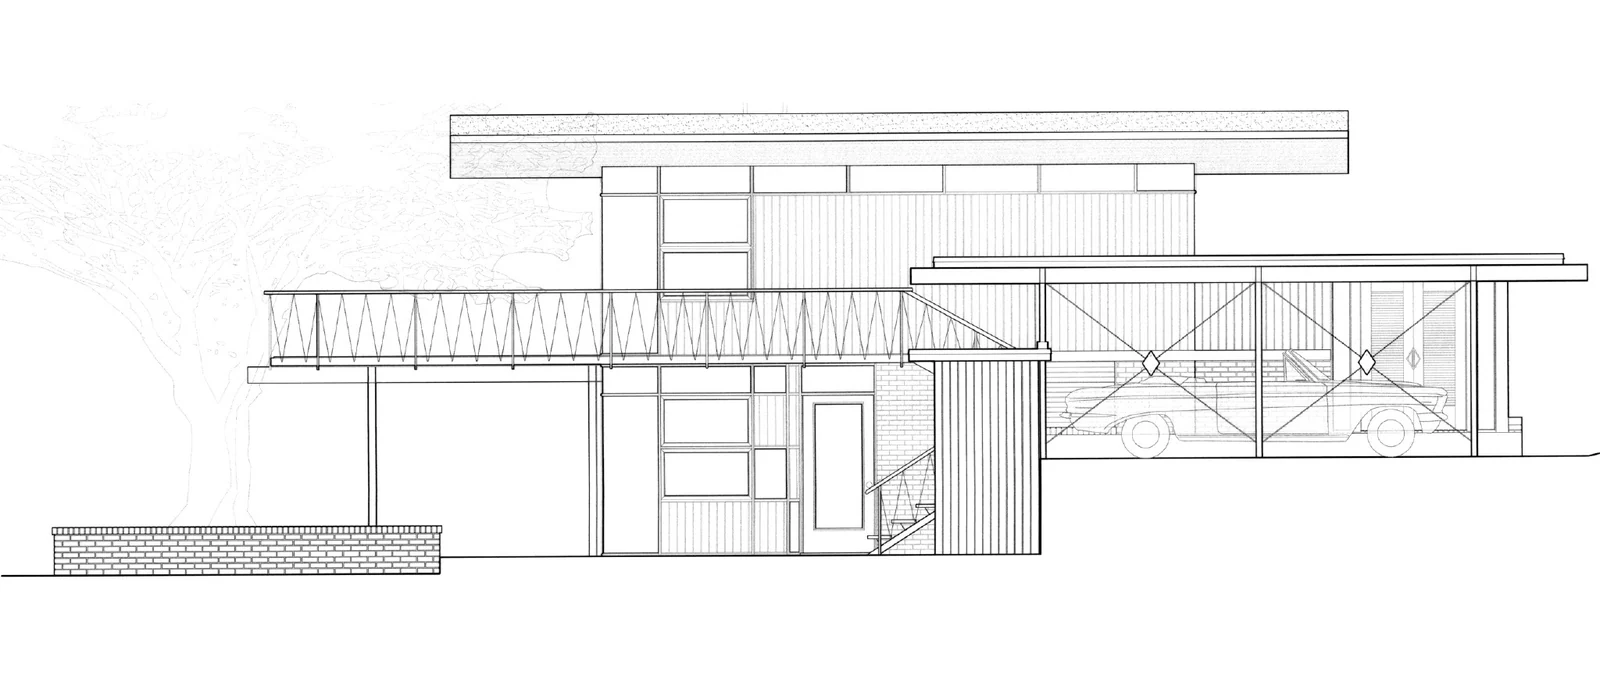
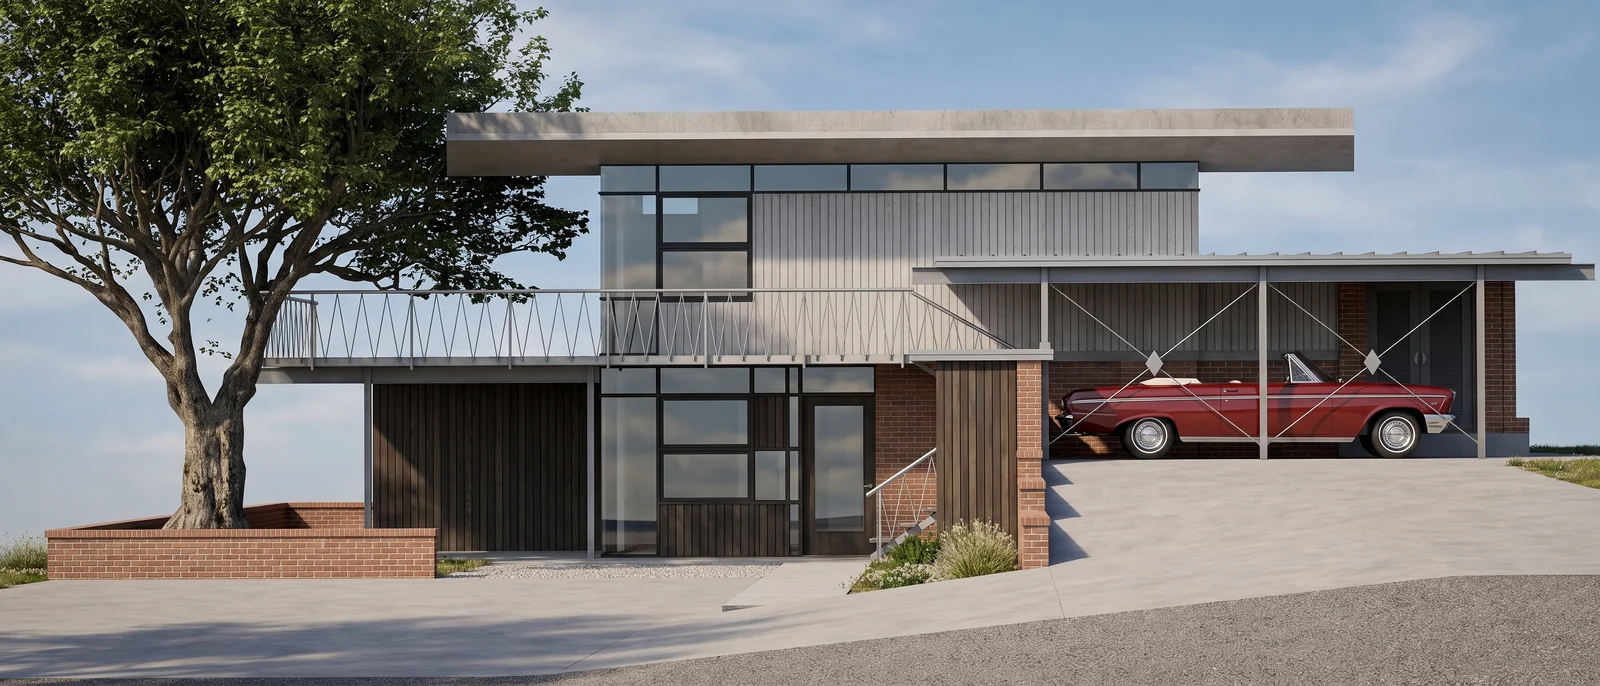
Before
After
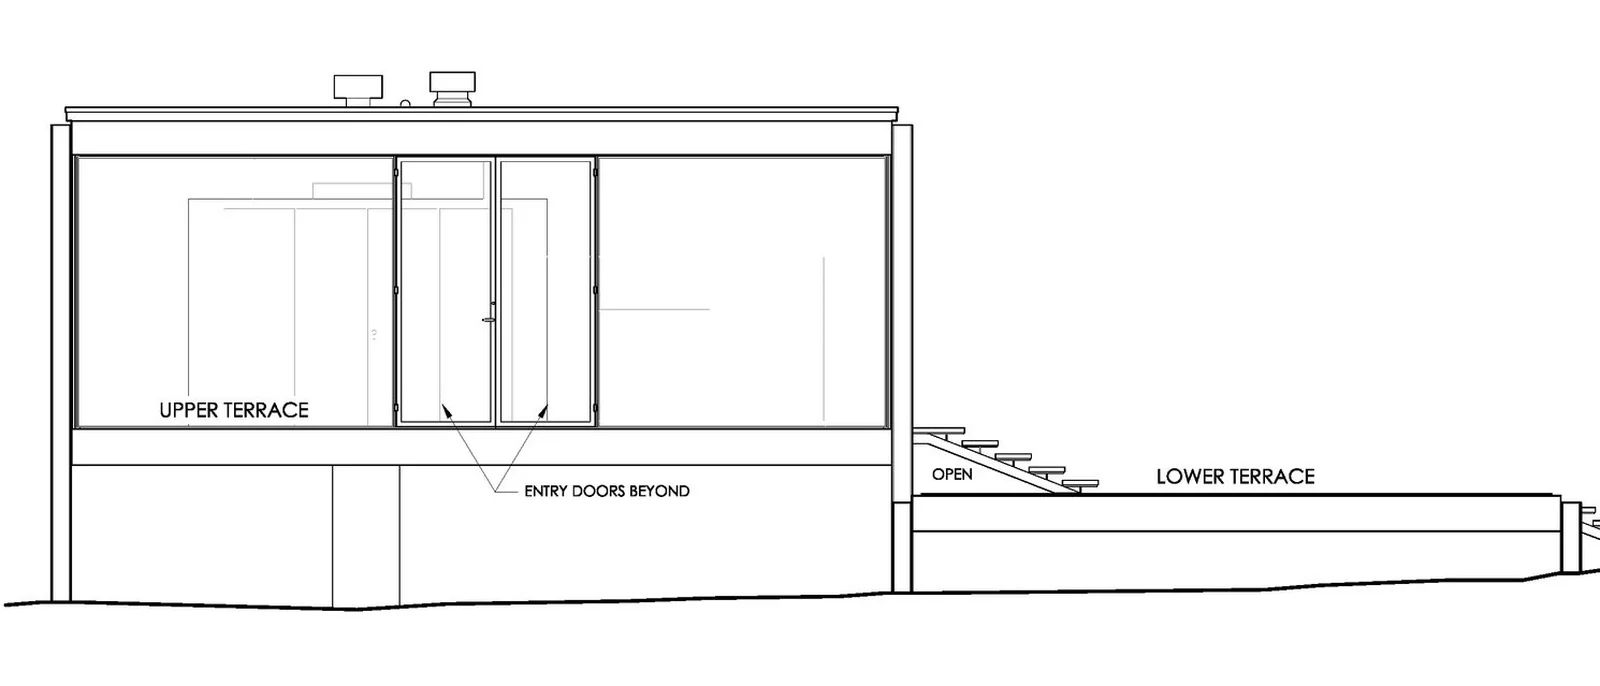
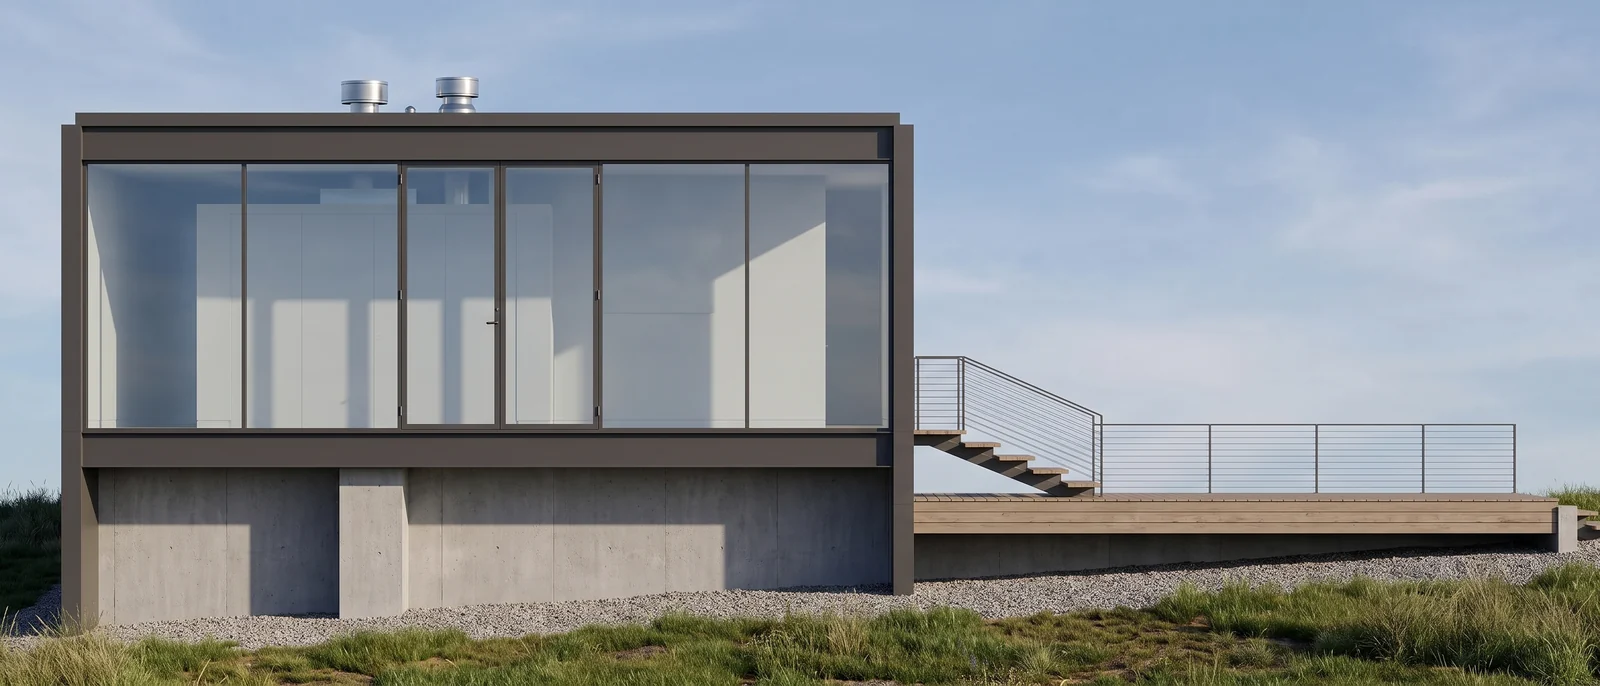
Before
After
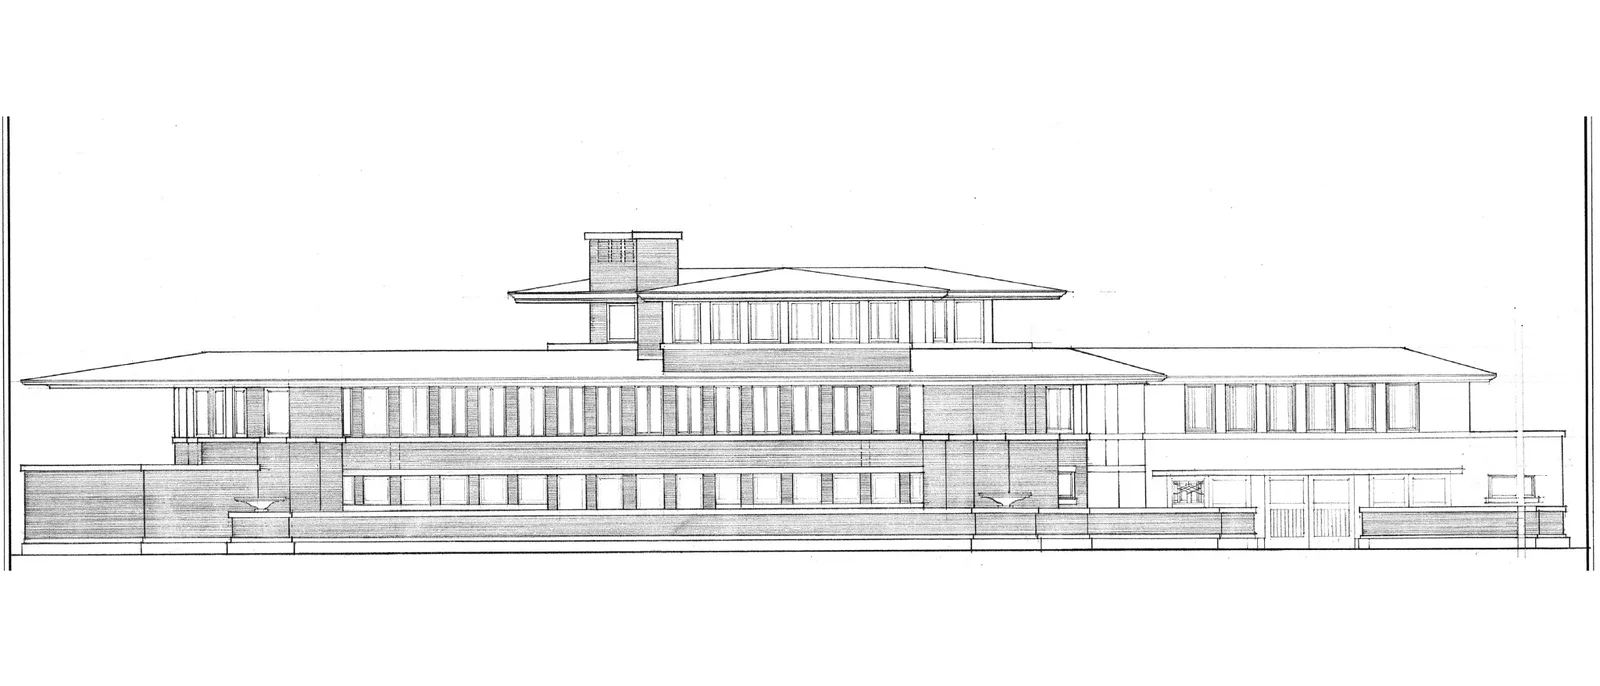
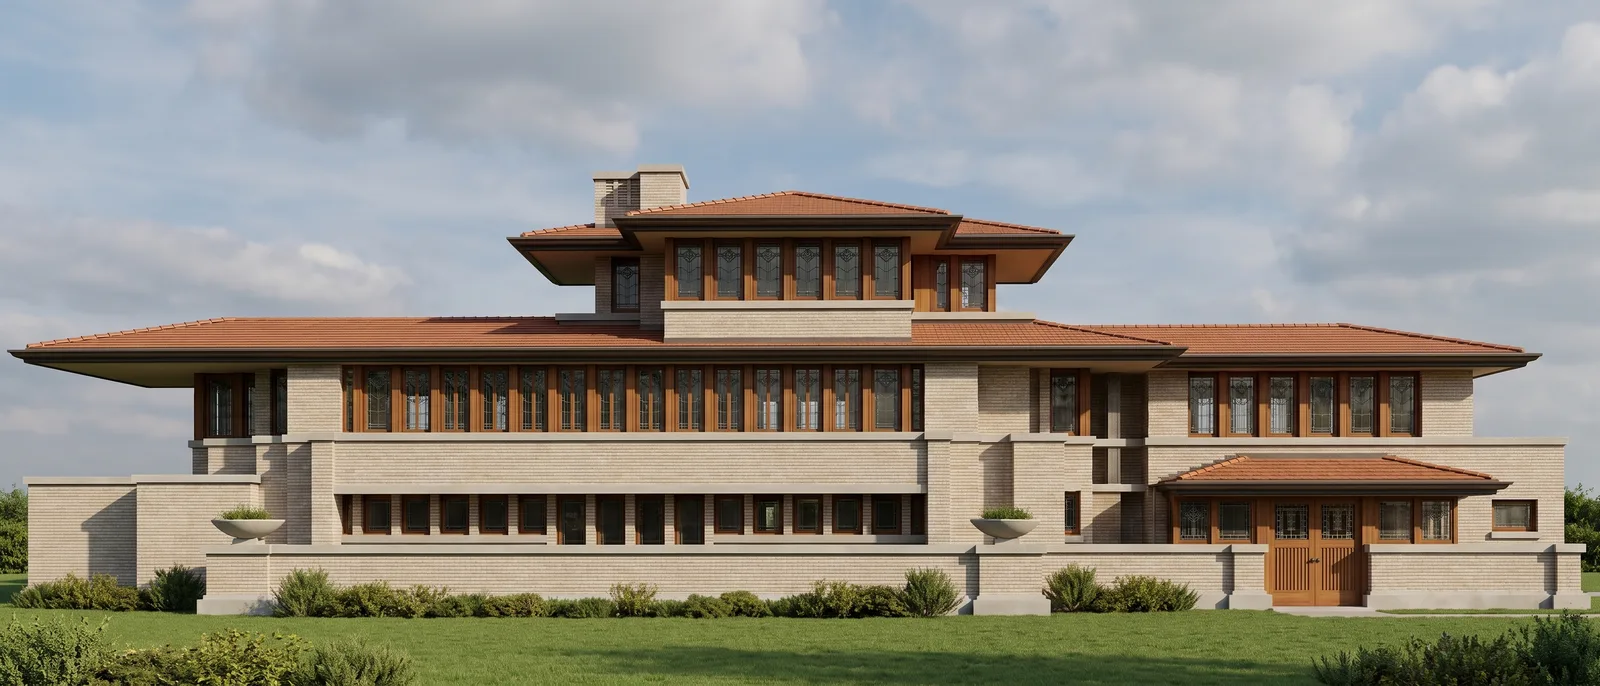
Before
After
Works with image exports from any design software
An elevation exported from any of these.
- SketchUp
- Revit
- Archicad
- Rhino
- Chief Architect
- Vectorworks
- AutoCAD
- Blender
FAQ
Elevation to render, answered.
No. The view stays flat and frontal, exactly as drawn. Storey heights, width and every opening stay where they are.
Other features
Ten ways to start. One render you can present.
- RenderingFrom CAD to final image in three clicks.
- Sketch to renderFrom a hand drawing to a photorealistic final image.
- Floor plan to renderA line plan becomes a furnished, textured plan.
- Photo to renderAn existing facade renovated, an existing room furnished.
- Improve renderThe same scene, more realistic.
- Elevation to renderThe same elevation, with materials, glass, shadows and sky.
- Section to renderThe same section, with materials, furniture, light and sky.
- Landscape designThe same place, from the same camera, with a designed garden.
- Create from scratchStart from a description, with no image at all.
- Resolution enhancerMore resolution, original render untouched.
Then, on the result
- Style transferApply any aesthetic without touching the geometry.
- Render editorSelect an area and swap materials on the spot.
- Atmosphere controlChange the light without redoing the scene.
- Furnish a roomFurniture in an empty or dated room.
- AnimationsFrom still image to cinematic in seconds.
- History and exportAll your work saved and organised.