How to render a building elevation or facade
Line elevations are precise but flat. A rendered elevation, with materials, shadows, sky and landscape, makes the facade easy to understand for clients and planning boards. This guide shows how to get one from your CAD drawing.
5 min read
What you will get
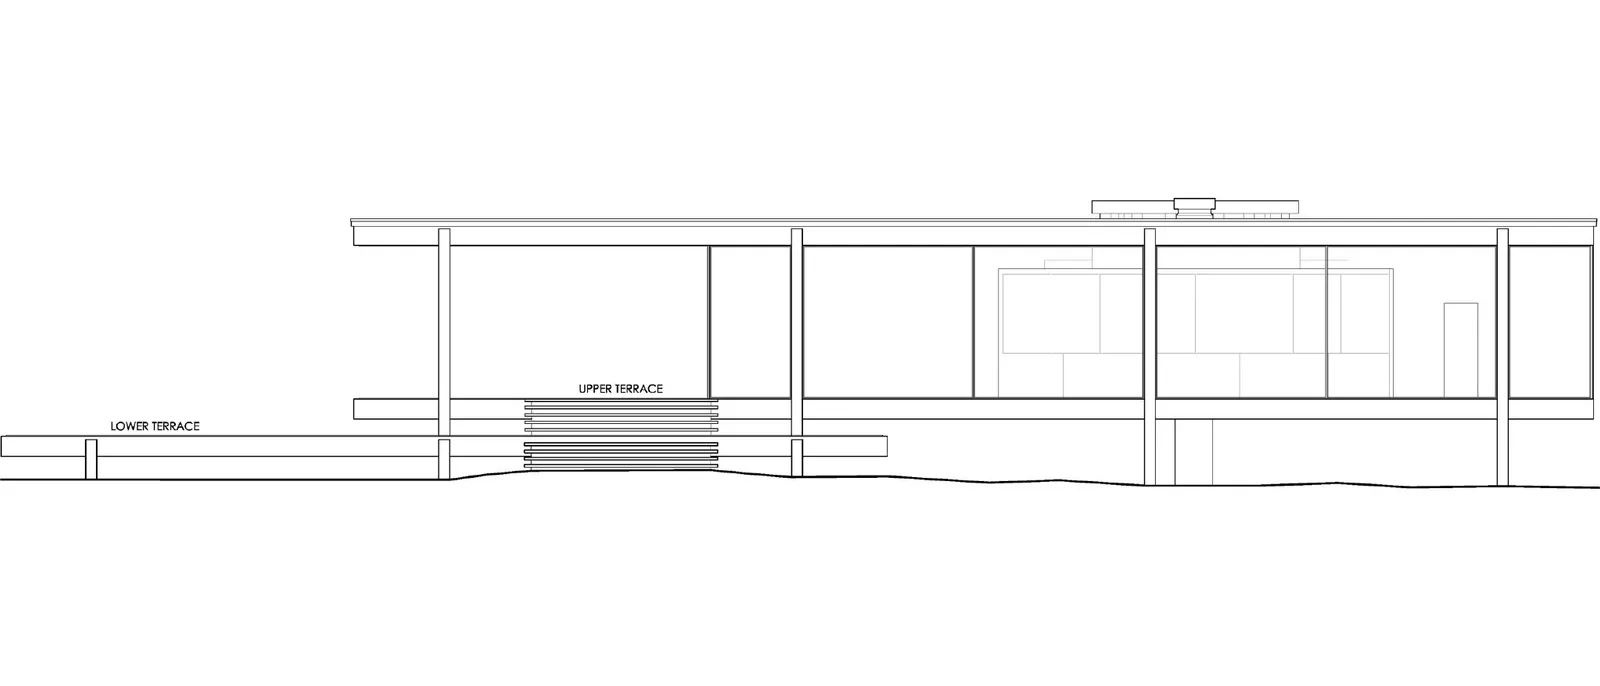
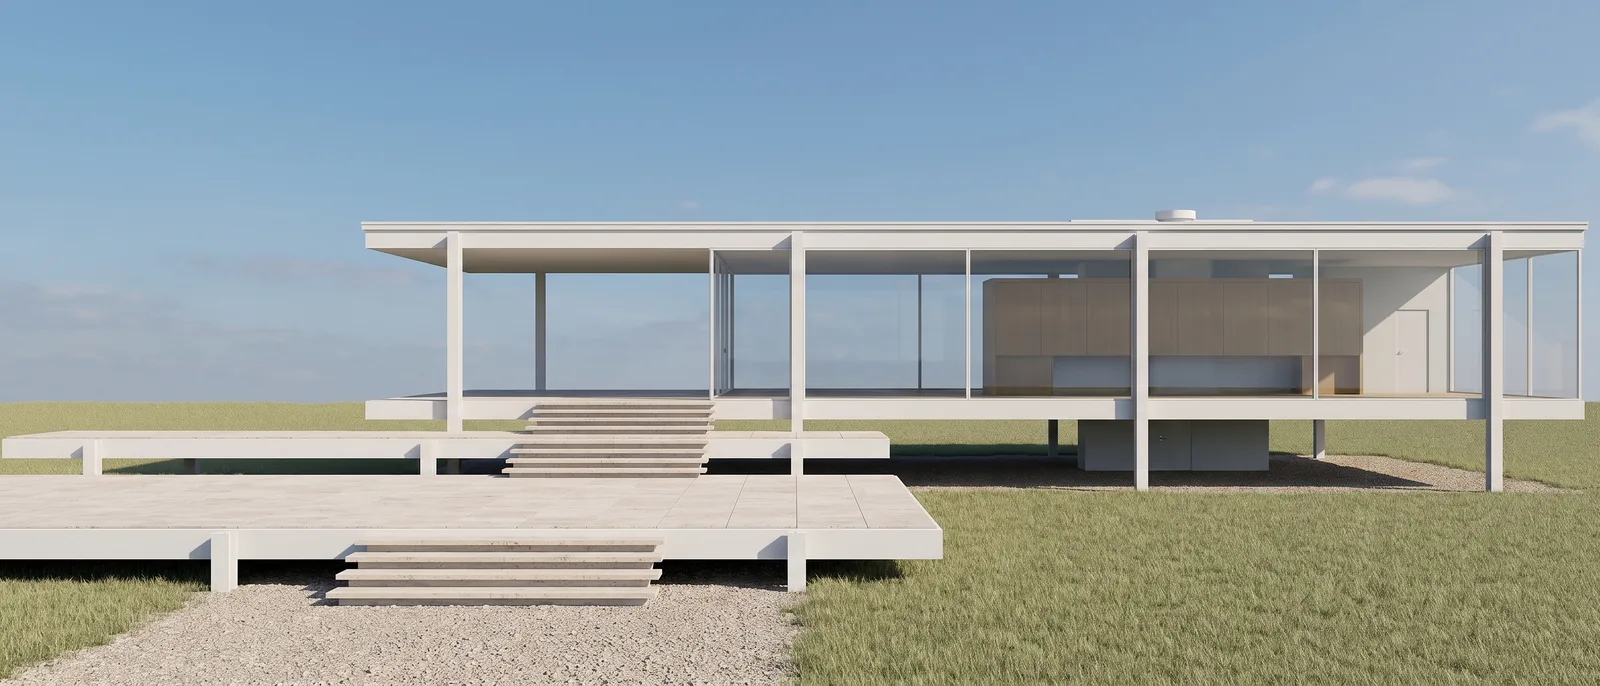
Drag the slider to compare before and after.
What you need
- An elevation exported from AutoCAD, Revit, Archicad, Rhino or any CAD program, as an image or PDF.
- One elevation per image.
- A free RendScene account (5 free renders, no credit card).
Step by step
- Step 1
Export a clean elevation
Export only the drawing, without the title block. Dimensions and level markers can stay small, but long notes may end up in the image. Use a good resolution so thin lines survive.
- Step 2
Upload it as Elevation
In the studio, choose Elevation under Starting from and upload the image. RendScene detects elevations automatically; you can change it with one tap if it guesses wrong.
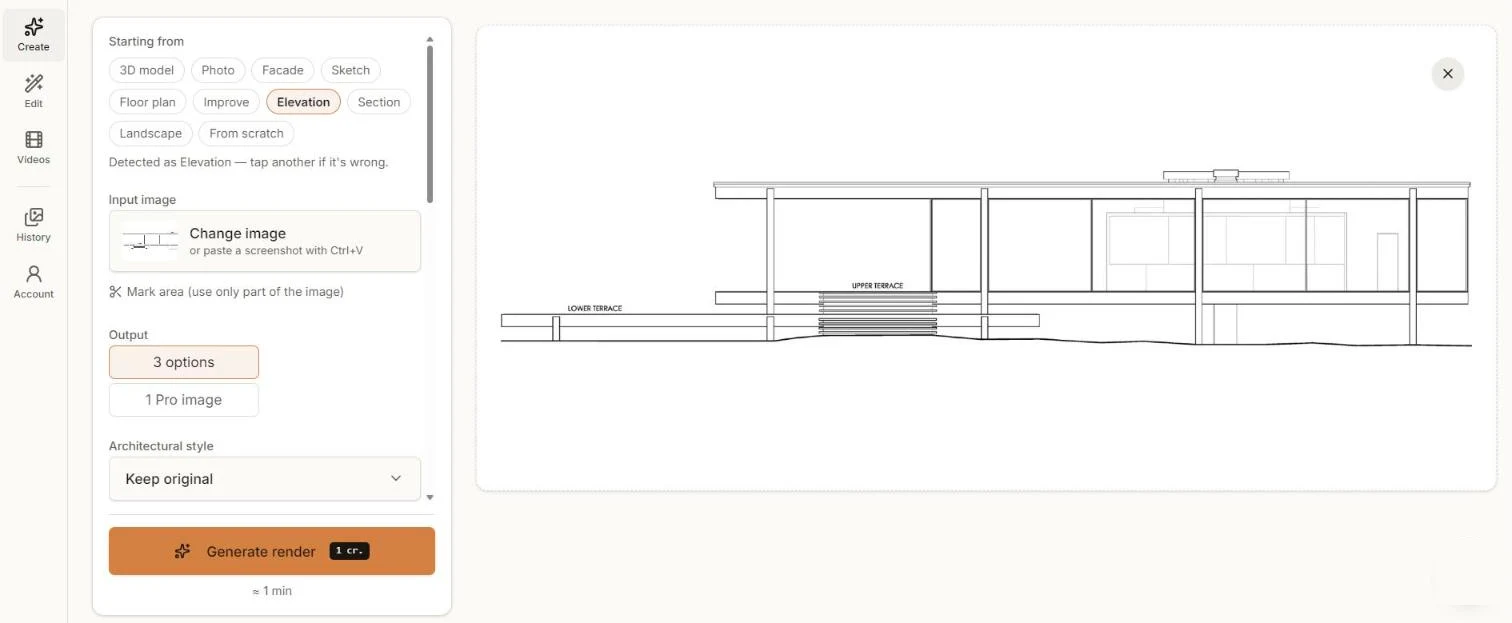
A line elevation uploaded as Elevation, with the style set to Keep original. - Step 3
Choose the style
Keep original keeps the architecture as drawn. Pick another architectural style only if you want to explore options. Write materials and the time of day in the instructions, such as "white steel, glass, travertine terrace, clear sky".
- Step 4
Generate and compare
Click Generate render and compare the options in about a minute.
- Step 5
Download or refine
Download in 2K or 4K for your boards. Use Edit to add trees, people or change the sky.
Tips for better results
- Remove hatching legends and long notes; keep the drawing itself.
- Draw the ground line: it helps the AI place terrain and landscape.
- Name the materials in the instructions, since a line drawing does not show them.
- For sections, choose Section instead: the cut is treated differently from a facade.