How to render a Rhino model with AI
Rhino is great at complex geometry, but getting a convincing image usually means a render plugin, materials and lighting setup. This guide shows how to turn a plain Rhino view into a photorealistic render in about a minute, keeping your curves where they are.
5 min read
What you will get
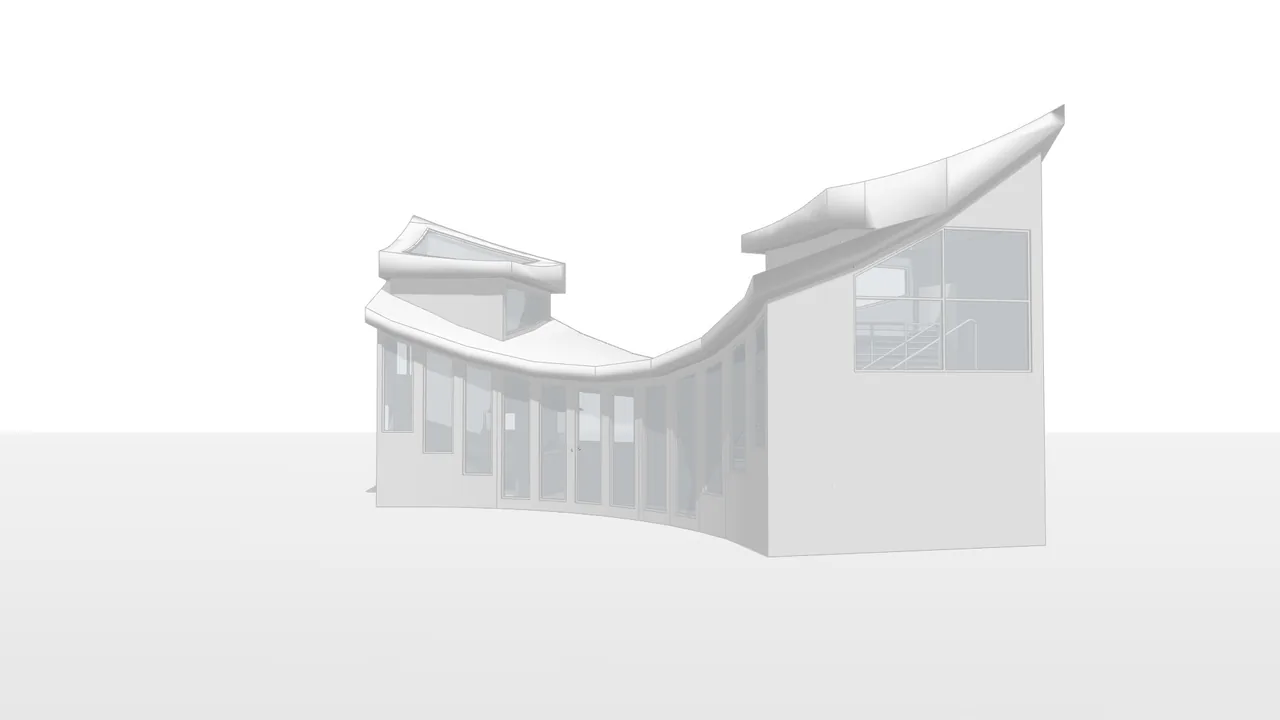
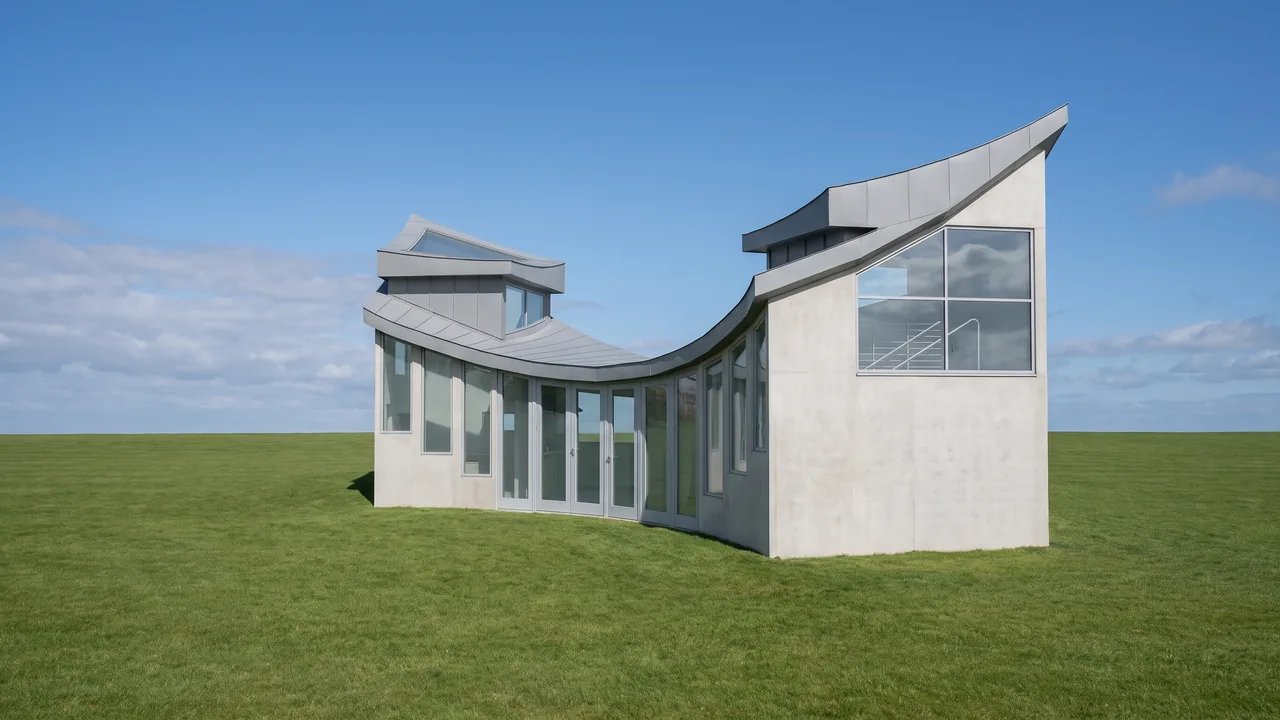
Drag the slider to compare before and after.
What you need
- Rhino for Windows or Mac, with a perspective view of your model, or the .3dm file.
- A browser. No plugin and no graphics card.
- A free RendScene account (5 free renders, no credit card).
Step by step
- Step 1
Set the viewport
Frame the perspective and set the display mode to Arctic or Shaded. Hide the grid, axes and construction curves you do not want in the image.
- Step 2
Capture the view or upload the .3dm
Save the viewport with ViewCaptureToFile (View › Capture › To File), choosing PNG or JPG and the size in pixels. Or upload the .3dm file: it opens in a 3D viewer in your browser, where you pick the camera. In the studio, choose 3D model under Starting from.
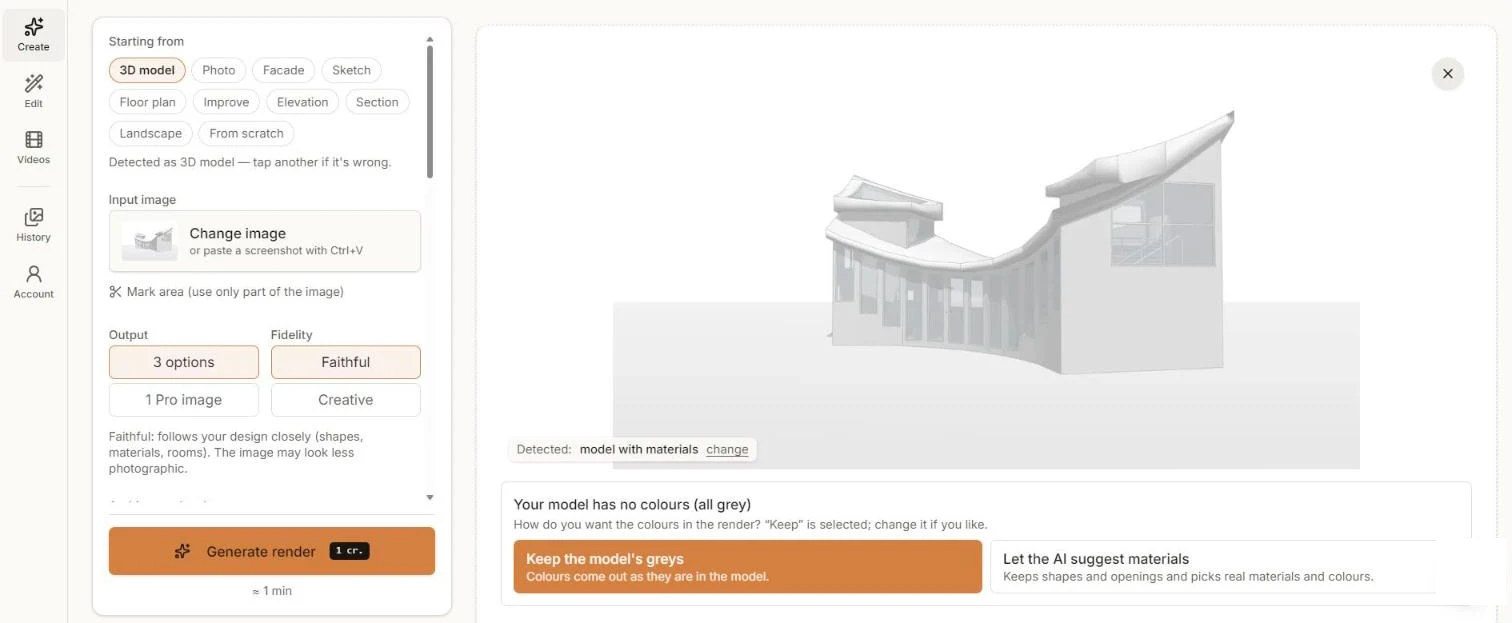
A Rhino view in Arctic mode, ready to render. - Step 3
Choose how to treat colours
An Arctic or grey view has no colours, so RendScene asks whether to keep the greys or let the AI suggest real materials. Keep Faithful to stay close to your geometry.
- Step 4
Generate and compare
Click Generate render and compare the options in about a minute.
- Step 5
Refine and download
Download in 2K or 4K. To change the sky, the time of day or a material, use Edit on the image you picked.
Tips for better results
- Arctic mode gives clean, even light that the AI reads well.
- Capture at least 1920 px wide so thin elements survive.
- Turn off the grid and world axes before capturing.
- For plans and sections, use Make2D or a top view and choose Floor plan or Section in the studio.